


GYMlogix Rolls
Product Overview
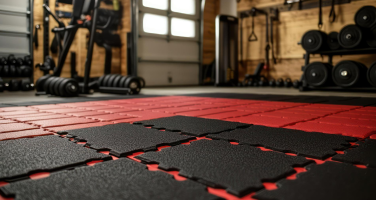
Unroll a world of possibilities with GYMlogix Rolls. Built for spaces big and small, our rolls lay the groundwork for an impeccable workout environment. Quality, durability, and style – all rolled into one.


Product Features
MaterialPremium Quality Recycled RubberErgonomicsEngineered for both comfort and durability
| 1/4″ (6mm nom.), 5/16″ (8mm nom.), 3/8″ (9mm nom.), 1/2″ (12mm nom.) & 3/4″ (18mm nom.) | |
| See examples of our colors below | |
| Our rolls adapt to your needs. Available in any length, they’re perfect for gyms of all sizes. | |
| Significantly reduces the impact of heavy objects thus reducing noise and protecting the substrate. | |
| Using 92% recycled content means you are doing something great for our environment |
What we offer
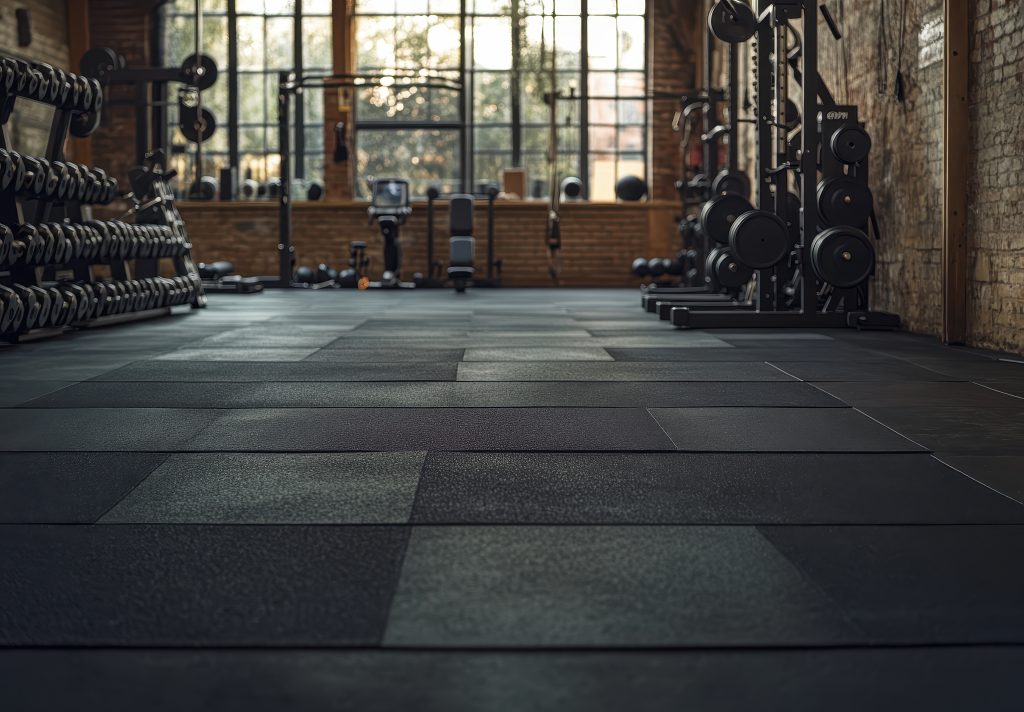
High-Performance Flooring Collections
we specialize in offering comprehensive financial solutions tailored to meet your unique needs. From personal loans to
investment advice, we are here to guide you every step of the way.

Exceptional
Durability
Our rubber mats are engineered to endure the toughest conditions. They are highly resistant to wear and tear, making them perfect for areas with heavy foot traffic and spaces that support high-impact activities like gyms.

Effortless
Maintenance
Keeping your flooring in pristine condition has never been easier. With our rubber mats, daily upkeep requires minimal effort. A quick wipe or mop is all it takes to remove dirt, sweat, or debris.

Enhanced
Safety
Our rubber mats are engineered to endure the toughest conditions. They are highly resistant to wear and tear, making them perfect for areas with heavy foot traffic and spaces that support high-impact activities like gyms.
Install & Care
Install & Care
Here’s why choosing us means choosing the best available option:
01
Allow the Mat to Relax
Before installation, unroll the rubber mat and allow it to rest flat for 24-48 hours in the installation environment. This will help the mat acclimate to room temperature and ensure it fully relaxes, making it easier to install without any curling or unevenness.
02
Adjust and Trim for a Custom Fit
Once the mat has relaxed, position it in the desired installation area. Carefully measure and trim any excess material using a sharp utility knife, ensuring the mat fits snugly around walls, fixtures, or other obstacles. For a clean finish, make sure your cuts are straight and precise.
03
Adhesive Installation
For permanent installations, use our specialized adhesive to bond the mat securely to the subfloor. Apply the adhesive evenly across the surface for a durable hold.
04
Clean and Maintain Your Mat
After installation, clean the mat with our recommended CLX Cleaner to remove any dust or debris. Regular cleaning with this product will help maintain the mat’s appearance and prolong its lifespan, keeping your flooring looking as good as new.
Are you interested in our offerings?
Get in touch with us to know more